How To Make Your Own Sourdough Starter From Scratch
Whether you're ready to start your sourdough journey or you just want to make your own starter from scratch here are the simple instructions. All you need is flour and water! With sourdough starter you can make a plethora of recipes from pancakes, English muffins, bagels, and of course good ol sourdough loaves. Read on to learn how to make your own sourdough starter from scratch.

You may have heard about all the benefits of making sourdough foods, but aside from the healthier options it is a very fun and rewarding thing to do.
What is Sourdough Starter?
Sourdough starter is a live active culture made from flour and water. It's a mixture of wild yeast and beneficial bacteria that ferment and create bubbles, resulting in the rise and flavor of sourdough bread. This living culture needs to be fed regularly to stay active and potent.
Benefits of Sourdough Starter
Enhanced Flavor: Sourdough bread has a complex, tangy taste that comes from the fermentation process, unlike bread made with commercial yeast.
Improved Digestibility: The fermentation process breaks down gluten and phytic acid, making sourdough easier to digest for some people.
Natural Leavening: Sourdough starter can be used as a natural leavening agent, eliminating the need for commercial yeast in bread baking which is what people have done traditionally in the past. We have lost that art today which is why people have a hard time tolerating grains.

FAQ
What is sourdough discard? Discard is the part of the starter that we discard and throw when feeding our sourdough starter. Once your sourdough starter is well established you can begin using the discard in many discard recipes easily found online.
How often do I feed my sourdough starter? You can feed your sourdough starter either weekly or daily depending on how often you will use it. Daily feedings makes more sense if you're going to be baking daily. Weekly feedings occur when you only bake about once a week and you store your sourdough in the refrigerator to slow down fermentation in between use.
How long does it take to make my own sourdough starter? It usually takes around one week to make but can take up to 10 days or more. During this time when we are making and establishing our sourdough starter we need to feed daily.
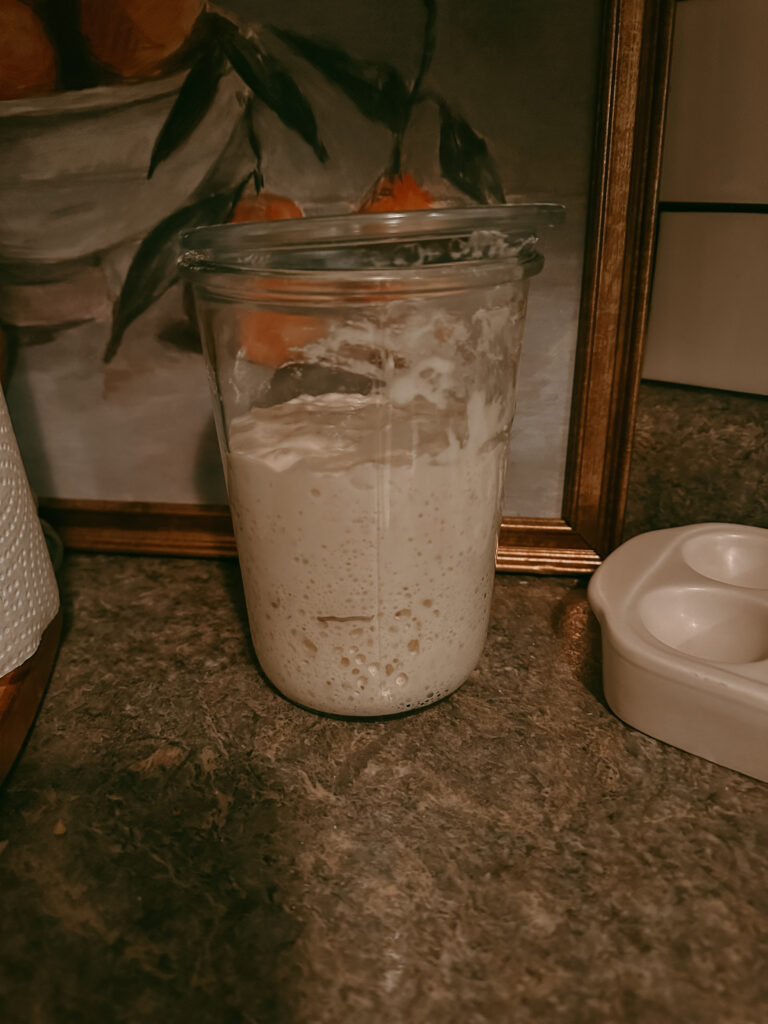
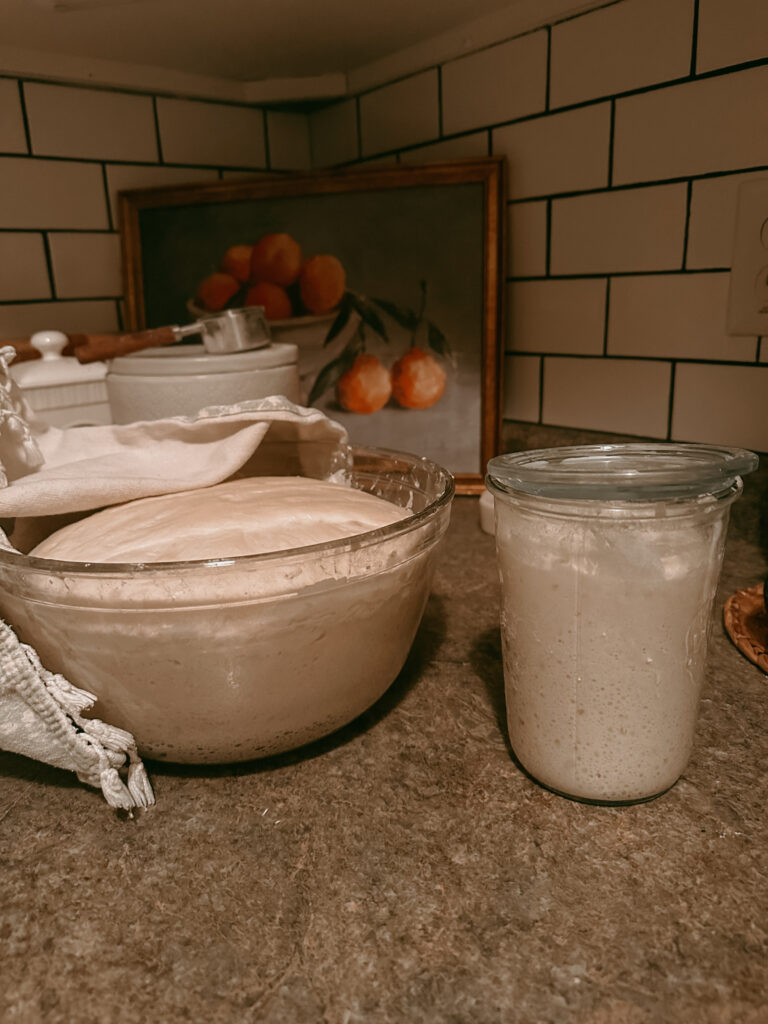
How do I know when my sourdough starter is ready to bake with? Your sourdough starter will have risen and be nice and bubbly 4-12 hours after feeding. You can mark your jar when you first feed it or put a rubber band around your jar to measure how much its risen.
Float Test: You can also try the float test, where you pour a small amount of water into a jar and add a small dallop of sourdough starter to the water. If it floats then it is ready to use in your recipe if it doesn't then it needs more time to activate.
What tools and ingredients will I need?
Ingredients
The ingredients needed are very simple.
Flour: All purpose flour, bread flour, whole wheat flour etc. You can experiment with what works best for you. I typically always go with bread flour.
Water: Non chlorinated water is needed. I use natural spring water but you can also use filtered water.
Tools
Tea towel or loose lid
How Make Sourdough From Scratch
Day one mix together 50g flour and 50g water. Mix vigorously in a clean jar making sure to scrape down sides. Cover loosely with a lid or tea towel. Leave on your counter for 24 hours.
Day two discard half of your starter and again feed with 50g flour and 50g water. Cover loosely with lid and wait 24 hours.
Days three-five repeat everything in day two instructions.
Days six-seven repeat the same method except begin feeding starter every 12 hours.
Day seven-ten your starter might be ready to bake with. You will know it's ready if it has bubbles and it doubles in size. You can also try the float test mentioned above in the FAQ or below in the recipe card.
Maintaining Your Sourdough Starter
Once your sourdough starter is lively and thriving, it requires ongoing care to ensure its longevity for years to come.
Refrigerator Storage for Occasional Use:
- Storing your starter in the refrigerator slows down its fermentation process, so feeding once every week will be enough.
- If I want to use my sourdough I bring it out of the refrigerator a day or two before I need it and I feed it once each day before using it. I then feed it again after using it in my recipe and pop it back in the refrigerator with a lid.
Counter Storage for Daily Use:
- The bacteria in the starter are active at room temperature, meaning they need more frequent feeding if kept on the counter.
- Leaving your starter on the counter requires daily feeding with flour and water. This routine is ideal if you're baking daily and using up the starter regularly.
- However, for most people who don't bake daily, I recommend storing the starter in the refrigerator between uses to maintain its freshness and reduce the frequency of feedings. This also saves you from using up your ingredients constantly.
Now that you're ready to bake sourdough bread read this post next:
There you have it! Simple instructions for how to make your own sourdough starter from scratch. If you try this recipe and love it please consider giving it 5 stars. Drop your questions and comments below!
Thank you so much for coming over Mrs. Blancarte's!
xo Melissa
Print
Sourdough Starter From Scratch
- Total Time: 7 Days
- Yield: 1 Sourdough Starter
Description
Make your own sourdough starter from scratch and finally step into your sourdough journey filled with deliciousness!
Ingredients
Bread Flour
Spring Water or Filtered Water
Instructions
- On day one mix together 50g flour and 50g water. Mix vigorously in a clean jar making sure to scrape down sides. Cover loosely with a lid or tea towel. Leave on your counter for 24 hours.
- On day two discard half of your starter and again feed with 50g flour and 50g water. Cover loosely with lid and wait 24 hours.
- On days three-five repeat everything in day two instructions.
- On days six-seven repeat the same method except begin feeding starter every 12 hours.
- On day seven-ten your starter might be ready to bake with. You will know it's ready if it has bubbles and it doubles in size. You can also try the float test*.
Notes
Maintaining Your Sourdough Starter
Once your sourdough starter is lively and thriving, it requires ongoing care to ensure its longevity for years to come.
Refrigerator Storage for Occasional Use:
- Storing your starter in the refrigerator slows down its fermentation process, so feeding once every week will be enough.
- If I want to use my sourdough I bring it out of the refrigerator a day or two before I need it and I feed it once each day before using it. I then feed it again after using it in my recipe and pop it back in the refrigerator with a lid.
Counter Storage for Daily Use:
- The bacteria in the starter are active at room temperature, meaning they need more frequent feeding if kept on the counter.
- Leaving your starter on the counter requires daily feeding with flour and water. This routine is ideal if you're baking daily and using up the starter regularly.
- However, for most people who don't bake daily, I recommend storing the starter in the refrigerator between uses to maintain its freshness and reduce the frequency of feedings. This also saves you from using up your ingredients constantly.
*Float Test: The float test consists of filling a cup of water and dropping a dollop of sourdough starter. If the starter floats then it is ready to bake with, if it sinks then it needs more time to activate.
- Category: Sourdough


1 comment