How To Make Sourdough Bread
It makes me happy that although sourdough has been a lost skill it has surely made it's come back in recent years! And, it makes me extra happy that I finally learned to make sourdough bread this year. It has been a goal of mine for so long and I finally did it. I have enjoyed sharing my daily bread baking on instagram. Well not so daily, but at the beginning I was baking 2-3 times a week because I was obsessed! lol. Now I get to share these tips with you so that you can learn how to make sourdough bread of your own! 🙂

Day 1
Prep your starter
1. If your starter has been in the fridge, take it out and activate it. It's best to feed it twice before using it in your sourdough baking.
2. Prepare your starter by mixing 30 grams of starter with 150 grams of bread flour and 150 grams of spring water or filtered water.
3. Leave your starter with a loose lid on the countertop overnight to activate it.
If you don't have sourdough starter yet, heres how to make your own sourdough starter from scratch.
Day 2
Mix your dough
1. Mix together 780 grams of warm filtered water (around 80-85°F), 135 grams of active starter (which should float), 1,000 grams of bread flour and 20 grams of salt. Stir until there are no dry bits of flour left. You cannot over mix the dough. It is important to mix thoroughly, so that can take 5-10 minutes. I typically use my hands to mix because I find it easier.
2. After mixing, cover the dough with a damp kitchen towel and let it rest for about 30 minutes to an hour.
3. After the resting time, start the first stretch and fold followed by a 30 minute rest. Repeat this process four times. Make sure to keep your dough covered with a damp kitchen towel in-between folds. You can find a tutorial for stretch and fold techniques here.
4. Once you've completed all four stretch and folds, let your dough bulk ferment for 6-12 hours or overnight, depending on how much it rises in the temperature of your home. Aim for a 30-50% increase in volume by the end of fermentation.
5. When the bulk fermentation is done, it's time to shape the dough. Divide the dough with your dough scraper into two or more loaves.
6. Shape each loaf by building surface tension. If you're adding any inclusions, incorporate them during shaping. You can watch a helpful shaping video here or watch my sourdough video below. See below for inclusion ideas.
7. Put your shaped loaves seam side up in a bowl or banneton which has been dusted with flour, and place them in the fridge for 8 to 30 hours or more for cold proofing. I typically prefer to cold proof 8-24 hours.
Day 3
Bake and Enjoy!
1. Heat your oven to 500°F with your empty dutch oven inside.
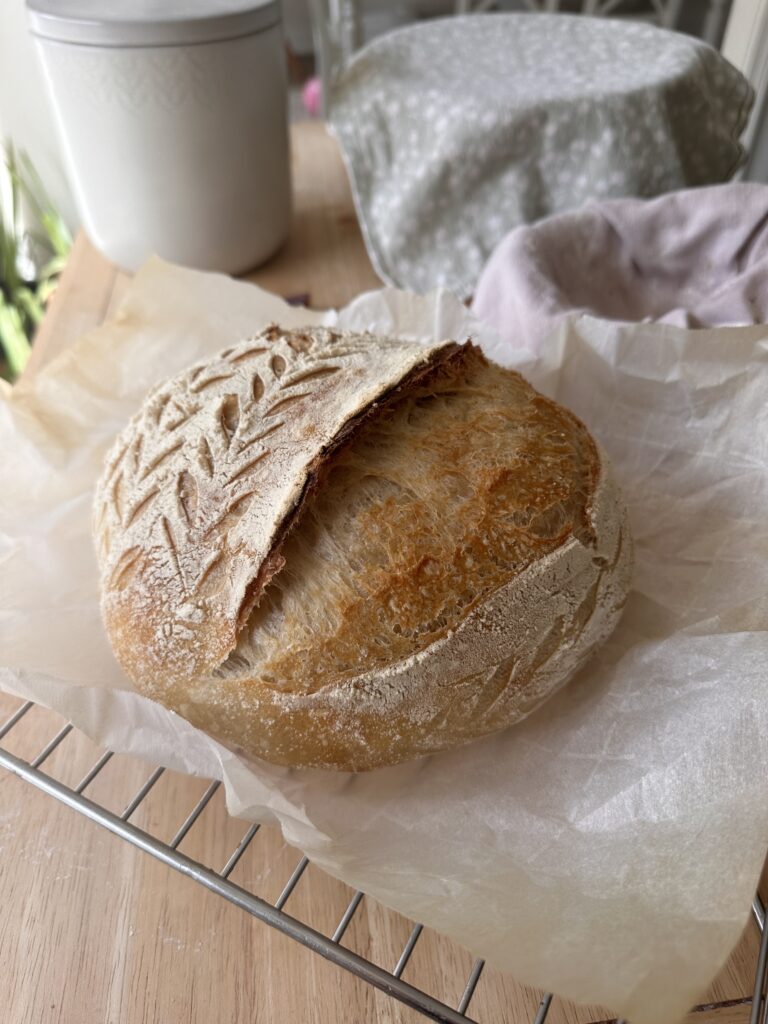
2. Once the oven is preheated prepare a sheet of parchment paper by sprinkling some flour over it. Next pull out one of your loaves and gently transfer to parchment paper and score. You will need one large score to allow the bread to open up and release heat and gases or else it will naturally open up on its own. Then you can add smaller scores around the bigger score for decorative purposes. You can find inspiration on how to score your bread here.
3. Once the oven is ready, reduce the temperature to 450°F, place your loaf in the preheated dutch oven, and bake for 20 minutes with the lid on.
4. After 20 minutes, remove the lid from the dutch oven and continue baking for another 20-35 minutes, depending on the size and desired crispiness of your loaf.
5. When baking is complete, let your loaves cool on a cooling rack for at least 1 hour, but I prefer 2 or more hours before cutting into it. The bread continues to cook as it cools.
6. Finally, it's time to enjoy! Although it's been a lengthy process, the results are definitely worth it. Enjoy!
Inclusion Ideas:
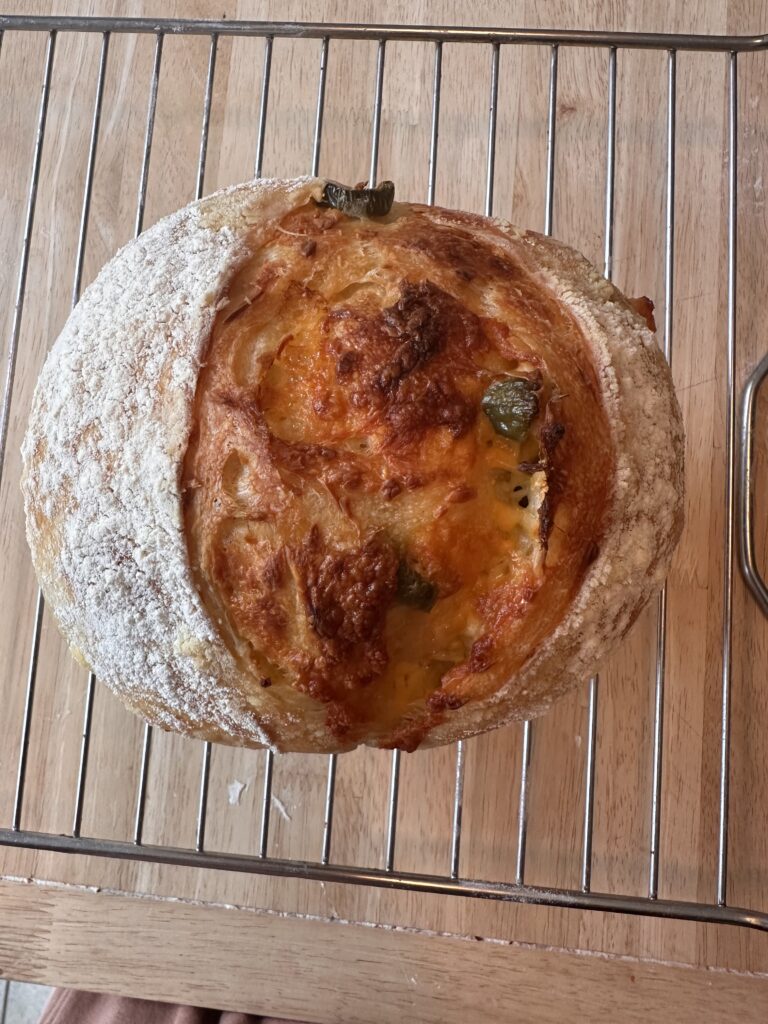
- Jalapeno & Cheddar
- Garlic Rosemary
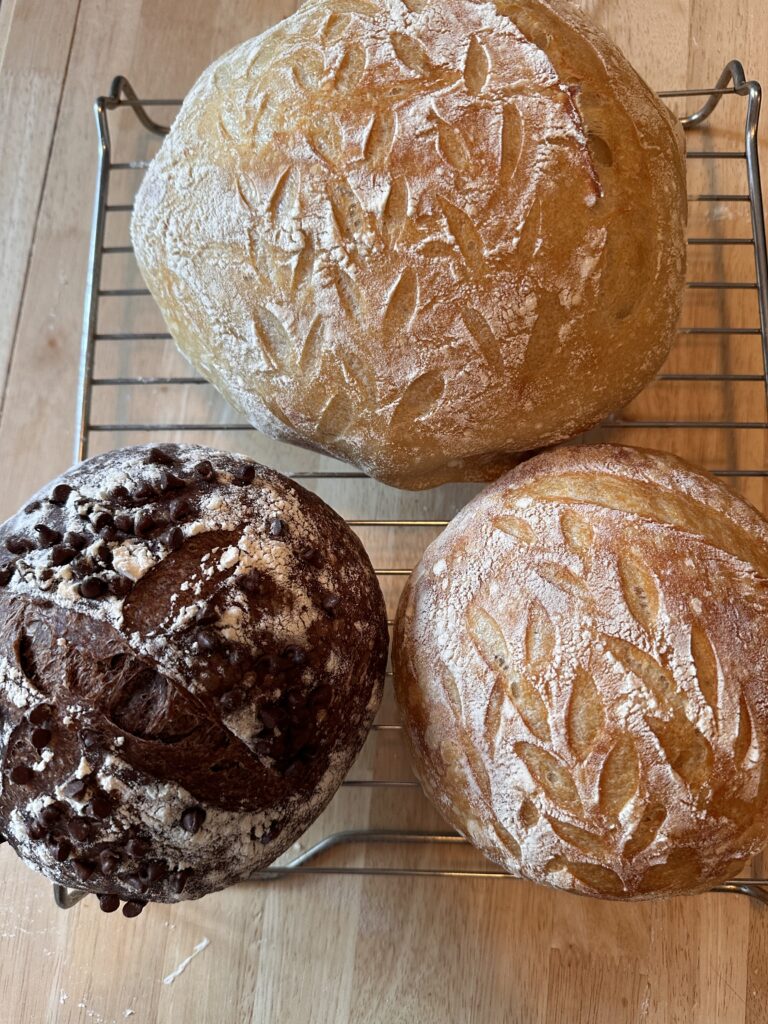
- Chocolate Chip
- Everything Seasoning
- Cinnamon Raisin


How To Make Sourdough Bread
- Total Time: 20 hours 15 min
- Yield: 1 loaf (or two smaller loaves) 1x
Description
Learn how to make your very own delicious sourdough bread. Perfect for sandwiches, with jam and butter, to dip in soup, or any other way you can think of. This versatile recipe will be your weekly must do!
Ingredients
Equipment
- Dutch Oven
- Large Bowl
- Banneton Basket or bowl with tea towel
- Bread lame, razor, or sharp knife
Ingredients
Day 1 Feed Starter
- 30g starter
- 150g water
- 150g bread flour
Day 2: Mix Dough
- 135g active sourdough starter
- 780g warm water (80-85f)
- 1,000g bread flour
- 20g salt
Instructions
Prep your starter
1. If your starter has been in the fridge, take it out and activate it. It's best to feed it twice before using it in your sourdough baking.
2. Prepare your starter by mixing 30 grams of starter with 150 grams of bread flour and 150 grams of spring water or filtered water.
3. Leave your starter with a loose lid on the countertop overnight to activate it.
Day 2
Mix your dough
1. Mix together 780 grams of warm filtered water (around 80-85°F), 135 grams of active starter (which should float), 1,000 grams of bread flour and 20 grams of salt. Stir until there are no dry bits of flour left. You cannot over mix the dough. It is important to mix thoroughly, so that can take 5-10 minutes. I typically use my hands to mix because I find it easier.
2. After mixing, cover the dough with a damp kitchen towel and let it rest for about 30 minutes to an hour.
3. After the resting time, start the first stretch and fold followed by a 30 minute rest. Repeat this process four times. Make sure to keep your dough covered with a damp kitchen towel in-between folds. You can find a tutorial for stretch and fold techniques here.
4. Once you've completed all four stretch and folds, let your dough bulk ferment for 6-12 hours or overnight, depending on how much it rises in the temperature of your home. Aim for a 30-50% increase in volume by the end of fermentation.
5. When the bulk fermentation is done, it's time to shape the dough. Divide the dough with your dough scraper into two or more loaves.
6. Shape each loaf by building surface tension. If you're adding any inclusions, incorporate them during shaping. You can watch a helpful shaping video here or watch my sourdough video below. See below for inclusion ideas.
7. Put your shaped loaves seam side up in a bowl or banneton which has been dusted with flour, and place them in the fridge for 8 to 30 hours or more for cold proofing. I typically prefer to cold proof 8-24 hours.
Day 3
Bake and Enjoy!
1. Heat your oven to 500°F with your empty dutch oven inside.
2. Once the oven is preheated prepare a sheet of parchment paper by sprinkling some flour over it. Next pull out one of your loaves and gently transfer to parchment paper and score. You will need one large score to allow the bread to open up and release heat and gases or else it will naturally open up on its own. Then you can add smaller scores around the bigger score for decorative purposes. You can find inspiration on how to score your bread here.
3. Once the oven is ready, reduce the temperature to 450°F, place your loaf in the preheated dutch oven, and bake for 20 minutes with the lid on.
4. After 20 minutes, remove the lid from the dutch oven and continue baking for another 20-35 minutes, depending on the size and desired crispiness of your loaf.
5. When baking is complete, let your loaves cool on a cooling rack for at least 1 hour, but I prefer 2 or more hours before cutting into it. The bread continues to cook as it cools.
6. Finally, it's time to enjoy! Although it's been a lengthy process, the results are definitely worth it. Enjoy!
Notes
Inclusion Ideas:
- Jalapeno & Cheddar
- Garlic Rosemary
- Chocolate Chip
- Everything Seasoning
- Cinnamon Raisin
- Prep Time: 30 min
- Passive Time: 19 hours
- Cook Time: 45 min
- Category: Sourdough
My favorite sourdough resources
Farmhouse On Boone & The Pantry Mama
Now you've learned how to make your own sourdough bread you can give it a try! I hope you found this post helpful. Please leave any questions or comments below and please consider giving my recipe a rating!
xo Melissa


2 comments